Showing posts with label beaded chandeliers. Show all posts

Saturday, March 5, 2022

WOODEN BEAD DECOR

It's been over two years since I closed my vintage/home design store and I still miss the creative outlet it gave me.  I sometimes go to the Pinterest board I created for the store and think about all the fun I had creating new spaces there.  As I was scrolling through the Pinterest images,  I realized how much I loved to decorate with wooden beads.  Garlands of wood beads tumbled in and out of the decor.  Most of my chandelier choices had wooden beads too.  I'm sharing some of the store displays in case you might want to add some wooden beads to your home too.

I love this white beaded pendant chandelier.  My daughter and I both have it in our homes.  Her chandy is above her table.  Mine is in a bedroom.
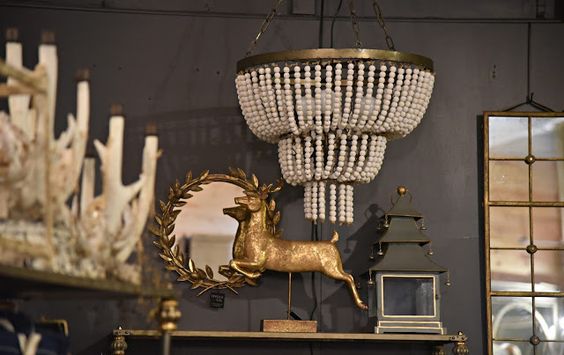
WHITE BEADED CHANDELIER IN THE STORE DURING THE HOLIDAYS

This brown beaded chandelier has a French vibe.  Notice the metal fleur-de-lis.  If you look in the background you can see the white chandelier again in a different store display.
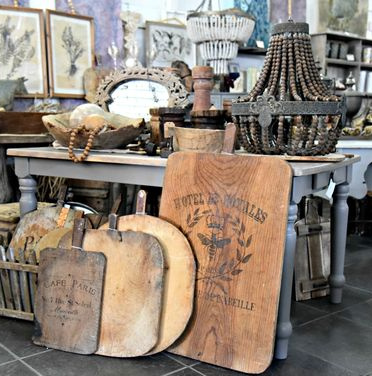
CHANDY WITH A FRENCH VIBE

Many times I simply turn a chandelier on its side and place it on a table.  It's much easier than hanging it in the store.  This one has gray beads.
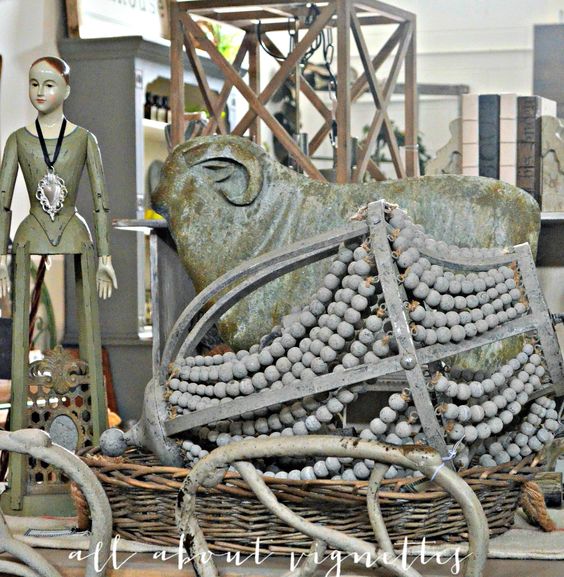
GRAY BEADED CHANDELIER RESTING IN A BASKET

In this next image you can see the bottom of a black beaded chandelier.  A turquoise bead garland drapes itself around the decor.
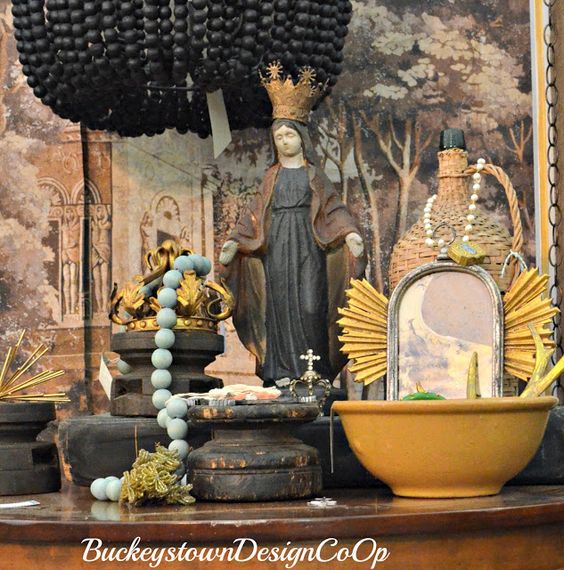
BLACK BEADED CHANDELIER AND TURQUOISE BEAD GARLAND

This image was  from our European container sale.  Beads dangle over the edge of a vintage yellow ware bowl.
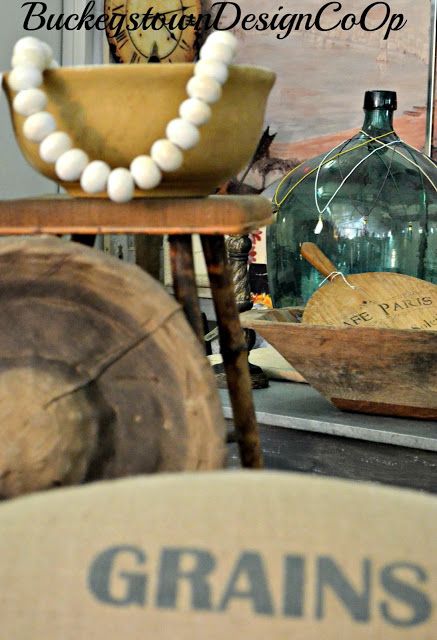
BEADS DRAPED OVER A VINTAGE YELLOW WARE BOWL

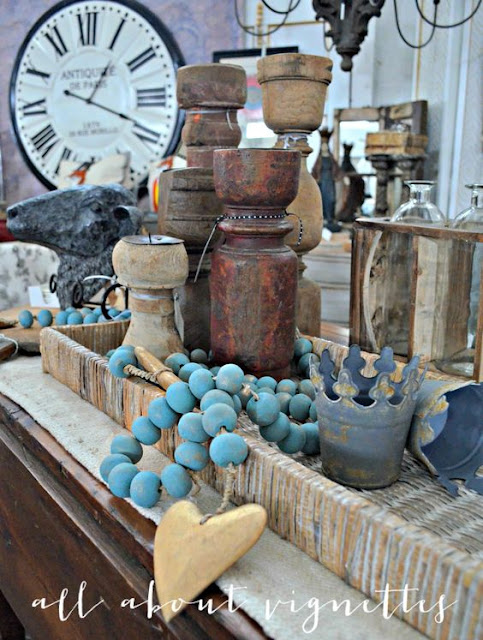
I always drape bead garlands over books.  Candlesticks can be bookends.  A crown can take the place of a candle.
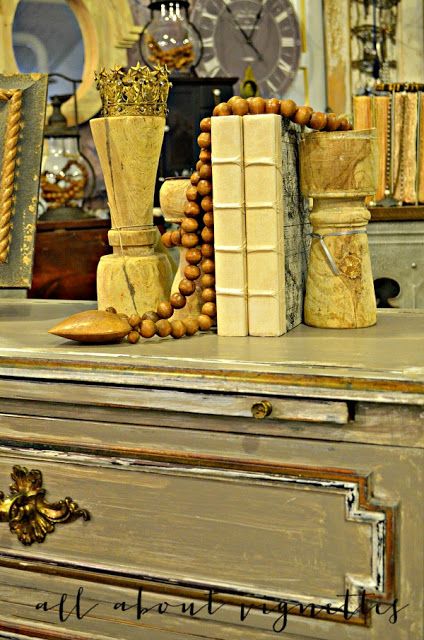
BEADS DRAPED OVER BOOKS

Bead garlands add some color to a bookshelf.
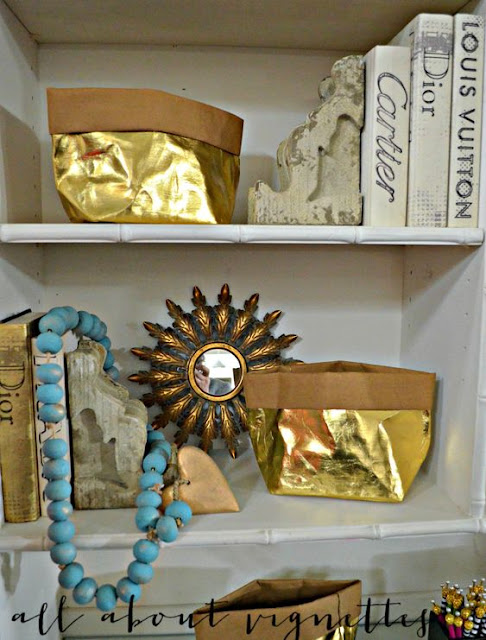
BEADS ADD A POP OF COLOR TO A BOOKSHELF

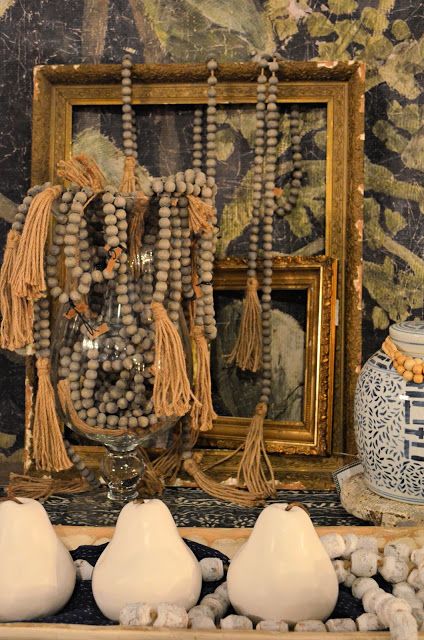
I filled a clear pedestal vase with blue bead garlands and spilled some white garlands out of a dough bowl. They're reaching for the floor.  Empty frames also like to be adorned with beads.
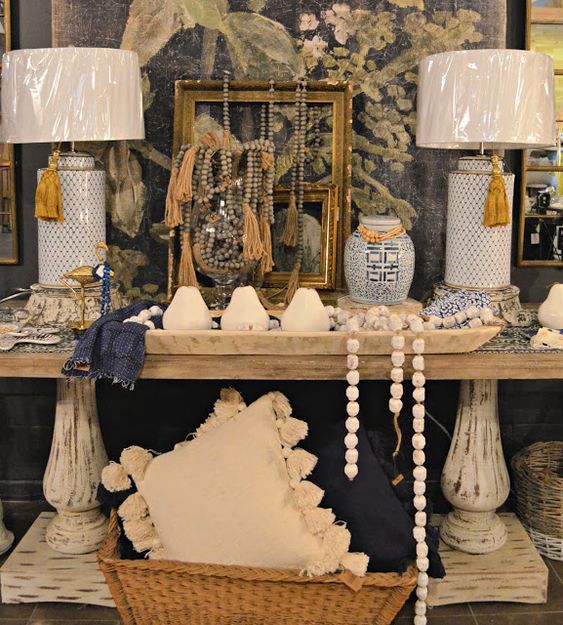
BEADS IN A VASE, A DOUGH BOWL, AND AROUND AN EMPTY FRAME

BEADS OVERFLOWING A JAR AND DANGLING OVER A VINTAGE FRAME

These red beads decided to drape themselves down a stack of vintage document boxes.
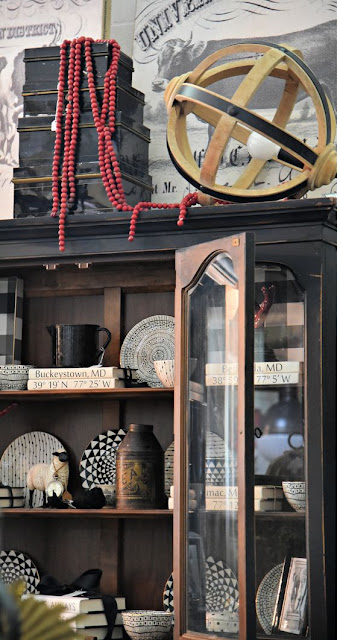
RED BEADS OVER DOCUMENT BOXES

You can also add beads to a large bowl.
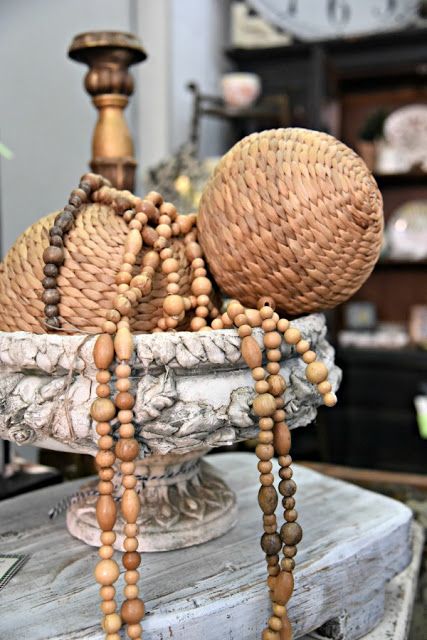
BEADS AND SPHERES IN A BOWL

I placed a beaded tray upright and added beads.
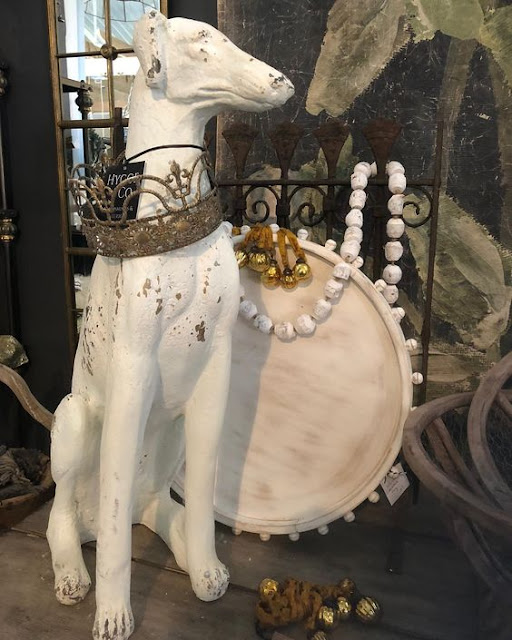
BEADED TRAY WITH BEADS

BEAD GARLAND AND WOODEN CANDLESTICKS IN A LARGE TRAY

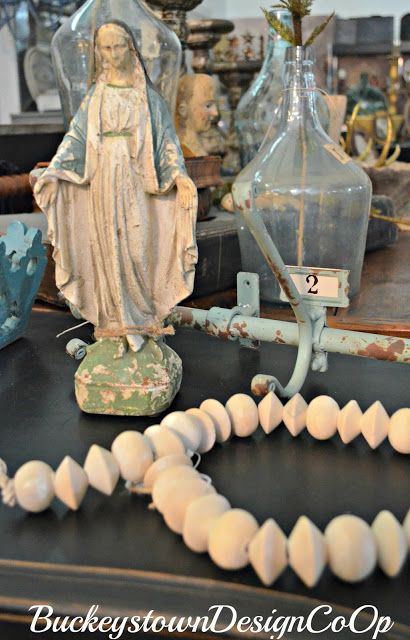
Or, simply rest a garland on a table.

BEAD GARLAND RESTING ON A TABLE

Do you add wooden beads to your decor?

If not, what do you add as a decor accent?


To visit the store Pinterest page, go here.

Saturday, September 12, 2020

MY KITCHEN RENOVATION REVEAL

After talking about renovating my kitchen for many years, I can now say that I did it!  I couldn't be happier with the result, and I couldn't have done it without help from my design guru friend, Monica, @monicagarrettinteriors.   She made my ideas work, offered suggestions that only someone who's done this before would think of, and sourced my wish list. 

I'm really excited to share my new kitchen.  I knew I wanted to remove the wall between the kitchen and the dining room and create one long galley kitchen.  

MY NEW GALLEY KITCHEN

 This next image includes the dining room opening into the kitchen.  I kept my original table and chairs, but removed the single pendant light and replaced it with a pair of oversized beaded wood lantern pendants.  

DINING ROOM TABLE AND CHAIRS WITH NEW LIGHTING

If you're looking into the room from our family room, this is the view.  Did you notice that I painted the windows and french doors to the sun room black?  The black paint ties the room together.  Everyone who follows my blog knows how much I love to use black in my home.

VIEW FROM THE FAMILY ROOM

The other dramatic change that we made to the space was removing the cooktop countertop that jutted out from the wall and divided the room in half.  I've written about the countertop and my knotty pine kitchen before.  To see the BEFORE now, click on the highlighted words.  Or, wait and there's also a link at the end of this post.  You'll see that we gutted the entire kitchen.  The floor was all that remained.  We moved the cooktop and hood against the wall.  The hood was on my wish list and was my splurge.  I love it.

MY BLACK AND BRASS HOOD

I wanted a marble countertop and backsplash, but gave in to my practical side and chose a porcelain marble look alike for easier maintenance.

MY PORCELAIN COUNTERTOP AND BACKSPLASH

Also on my wish list was a floor to ceiling pantry.  You can see it on the opposite wall.

FLOOR TO CEILING PANTRY

The pantry is a combination of drawers and doors and is perfect.

MY PANTRY:  A COMBO OF DRAWERS AND DOORS

I also wanted an appliance garage.  It's between the oven/microwave and the refrigerator.

APPLIANCE GARAGE

I can't even begin to tell you how much I love and how much use I've gotten from these double islands.  They almost make me love cooking.  Those legs!!!!!

MY DOUBLE KITCHEN ISLANDS


If you're considering updating your home, please contact Monica.

You'll love her style and appreciate her design expertise.  

Click on the highlighted words to be directed to her site.

Monica Garrett Interiors


Interior Design Studio + Online Furniture Boutique | Full Service Interior Design& Staging 
 

To see my latest post about the choices I made that worked, go here.

If you'd like to see my BEFORE kitchen, go here.  

Or click on the image to be directed to the BEFORE post.

BEFORE

ENJOYED THIS POST? 
 Sign up to receive a notification every time I publish by clicking here.