Saturday, July 30, 2011

A Simple Solution for Damaged Veneer

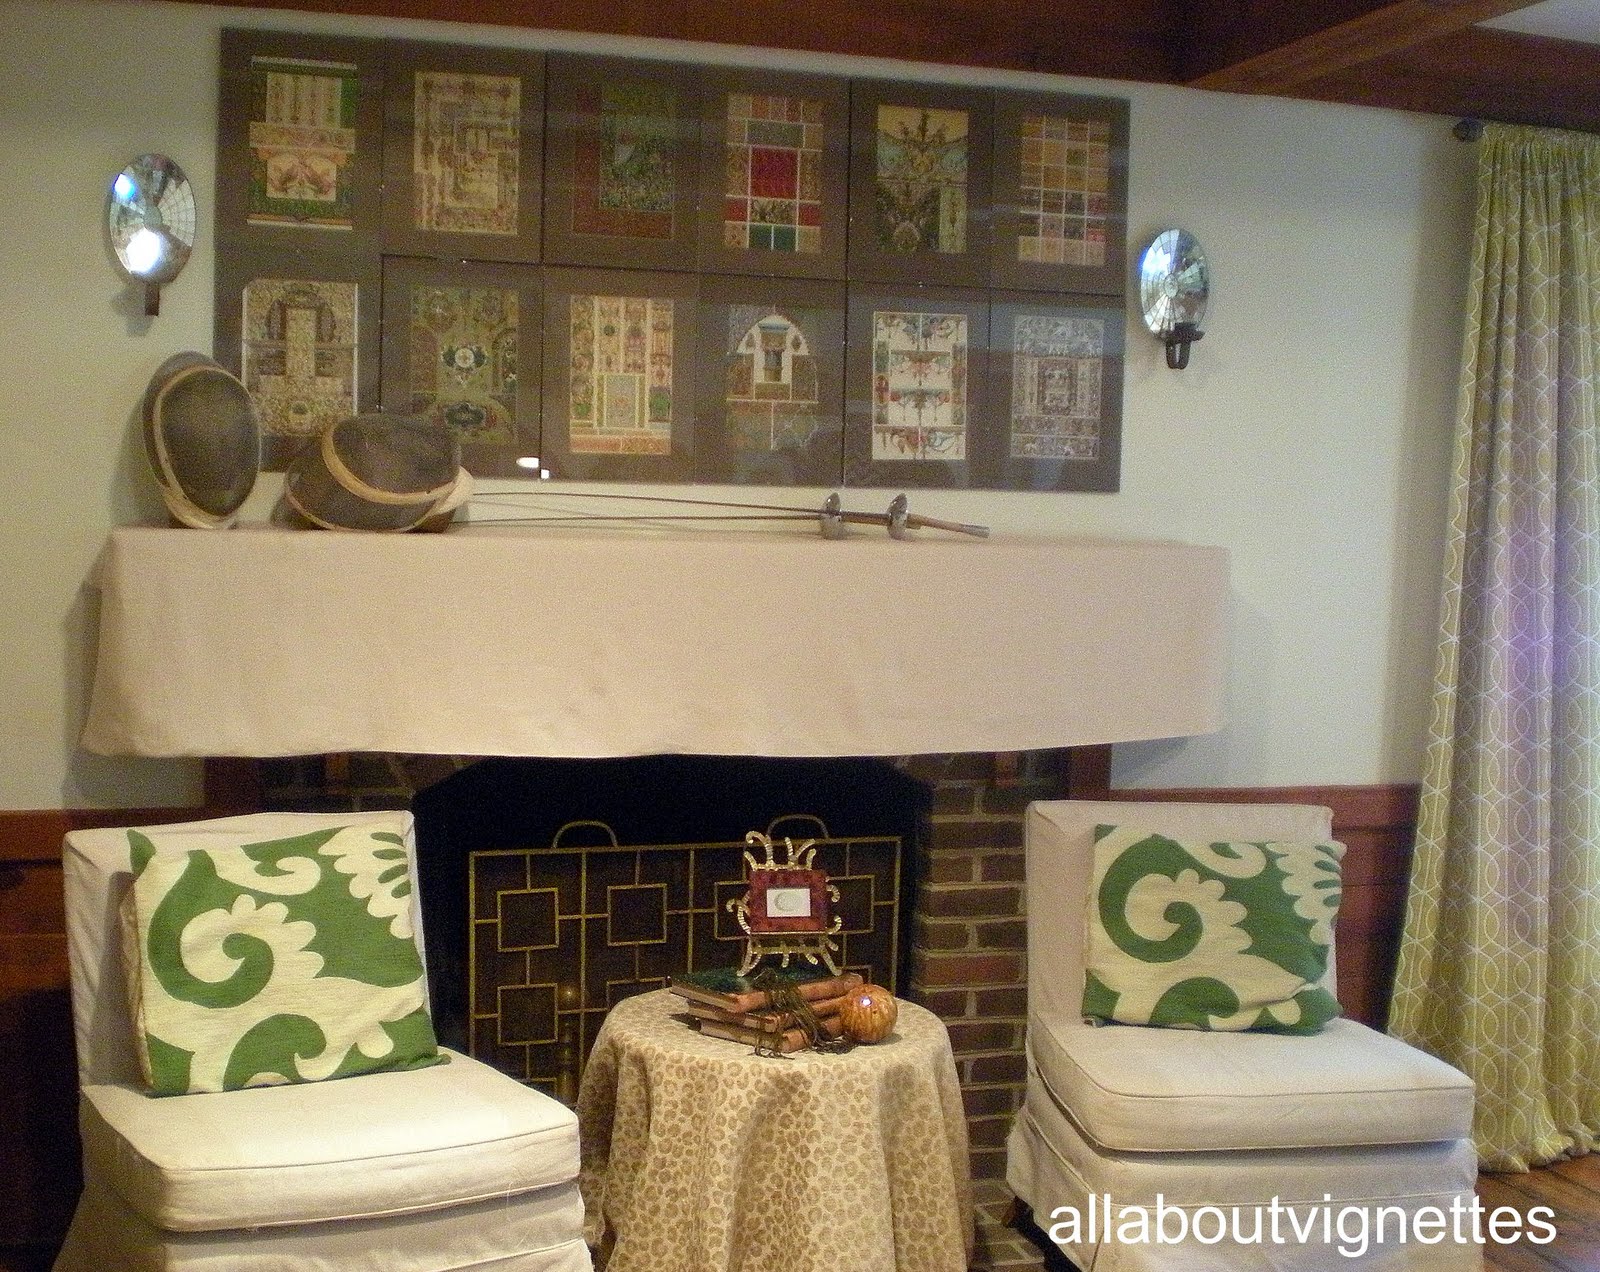
I haven't done much on the blog about painting furniture, but let me share that when I had the store I was a furniture painting machine.  One of the problems I frequently encountered when refurbishing vintage were pieces with damaged veneer.  Sometimes, I just didn't buy them.  Other times I purchased them and spent hours removing the entire section and then sanding.  Other times I filled and sanded or when I was feeling particularly ambitious, actually repairing the damage with another piece of veneer.
That was until I discovered Anaglypta textured wall covering.  It is applied just like wallpaper, but it is textured with a raised design. It's also fairly thick and can cover flaws on walls or furniture.  It comes in many patterns, some even imitating the design of a tin ceiling tile.  I purchased a roll of it at Lowe's.  Mine has a floral pattern.

Anaglypta Wall Covering

To see more patterns and designs, go here.

Originally I had painted this sweet side table a Swedish gray.

  
I thought I had sanded the top smoothly enough, but not so.  I don't know if the wet paint made the veneer buckle, or if I didn't do enough prep, but the top looked like this.


Anaglypta to the rescue.  Here are the steps I used to cover the damage.

First, I placed the wall covering on top of the table.  I smoothed it out and then folded it over the whole way around the table top to make a pattern.  I creased it with my thumb, but you could also use a wooden popscicle stick or old credit card to get a sharp edge.


Obviously it's easier to apply this product on a straight-sided surface like a door or the side of a dresser, which I've done many times.

Next, I cut out the pattern and put it onto the table top to make sure it was a good fit.  I usually have to trim again in a few places.

After that, you're ready to apply the covering.  It's pre-pasted so you wet it and then have to "book it" to activate the paste. "Book it" means that you lightly fold it over with the inside touching.  You leave it like this for a few minutes.


Now you're ready to apply it.  Start on one side and smooth it out until you've covered the entire surface.  Work from left to right or top to bottom.  Make sure you have no air bubbles or bumps.  Lift it up and re-apply before it dries if you see any.  Or, if you notice a bump afterwards, use a safety pin or needle to prick a small hole, press to release the air bubble.
I find that an old credit card works to press it down.  It's also a good idea to use the credit card around the edge too.
Don't be upset if you think that you did a great job and an edge comes up while it's drying.  Just squirt a dab of glue there and press it down.


I waited until it was dry, then applied two coats of paint.
Here's the finished product.


Sometimes solutions to problems create something unique,
and sometimes even better than the original idea.


What do you think?

ENJOYED THIS POST? 
 Sign up to receive a notification every time I publish by clicking here.


Monday, July 25, 2011

Wineries, Shopping, and Thomas Jefferson

Recently my husband and I spent a long weekend in Charlottesville, Virginia.  It was a weekend of wineries, shopping, delicious food, and Thomas Jefferson. 
You know me though, I managed to squeeze in a vintage store we found just outside of Charlottesville in Ruckersville, Virginia.  It was the kind of shop where you have to get down and dirty and be ready to dig for your diamond in the rough. 


Country Store, Ruckersville,VA


They weren't kidding about thousands of books.


Here are some of the finds I was able to uncover.

Side Board  Great details only $95

Bamboo Chair with Fabulous Fabric $75

Oars with Elephant Detail $35


I loved the iron garden chairs.  They were only $18 each.  The sign was great but too pricey at $58.


And, for all my Mid-Century Modern readers, there was a room filled with 50's icons.

Chrome and Vinyl Chair (part of a set) and Starburst Clock

Herman Miller Chairs $150 Each
There were many other interesting shops in the area, but I have to admit the majority of my time was spent wine tasting.  We were there at the same time as the Wine Bloggers' Weekend.  We also were in awe of the Jeffersonian architecture, and if it hadn't been 105 degrees, we would have hiked in the Shenandoah Mountains and climbed Rag Mountain for its fabulous view.

Hope you all had a great weekend.
How have you tried to beat the heat?

Kathy


Info for shop:
Country Store Antique Mall
Ruckersville, VA.
434-985-3649
M-F 11-4
Weekends 10-5

Thursday, July 21, 2011

Vertical Storage

Open shelf storage in the kitchen seems to be the trend.
I would love to do this in my kitchen.

via planakitchen.com


Or, this.

via House Beautiful

Or, just display in an open cabinet like this image from casasugar.  The kitchen actually looks more like furniture than cabinets and shelves.


Rather than horizontal shelves, I decided to experiment on a smaller scale and make my open storage vertical.  I found this stainless steel pot stand.  It's actually from a restaurant supply house.   It fit perfectly in the corner of my laundry/pantry.  I filled it with my majolica-style dishes.  They actually look like cabbage leaves.  I really stored a lot in not much space.  Pretty efficient.


What do you think about going vertical rather than horizontal?
Love it or leave it?

Kathy

To see more of my pantry/laundry, click here. 
Pin It

Monday, July 18, 2011

Over-Sized Art

Over-sized art is a dramatic addition to a room.  It can also be very pricey. 
I created some art above my family room mantel that was pretty economical.  If you've been following me, you know that I love all things architectural.

  At one of my favorite Pennsylvania hunting grounds, aka antiques shop, I found pages from a book containing architectural reference drawings.   They illustrated examples of German, English, and Italian Renaissance Ornamentation, Mohammedan (Moorish) and 17th and 18th Century Ornamentation, as well Gothic Illustrations.


Here are some of the pages I found.


I purchased all of them.  You can see that they are very unique and very interesting.

I wanted to create the over-sized art above the mantel in my family room.  I haven't shared much of this room because it's the one room in the house that never seems to turn out quite like I want.  I'm forever changing and rearranging. I've lost count of the change ups in this room.   One of the problems is the wood trim and mantel.  They're rough cedar and almost impossible to paint.  At some point I want to paint all the wood white, but that would involve sanding it all smooth before priming and painting.  I keep looking for other options.

  Here's a photo of the the latest furniture arrangement and the rough cedar mantel.  Yuck.


I slip covered the mantel in an off white linen, then found clear clip-on frames to fit the architectural reference plates.  I played with the arrangement on the floor until I had a mix I liked, then assembled them into over-sized art above the mantel.   I wasn't able to use all of them. 


I added a pair of antique mirrored sconces and two orb finials below the sconces.  The only other item I placed on the mantel was an iron bird.  The reference prints had a lot going on and I wanted to keep it simple.


Here's the final result.  What do you think?


But wait.  I did a change up before I published this one.
(It's not the first time I've done this.)
I used some fencing masks and foils instead of the finials and the bird.


Which one do you like better?  I just know that this still isn't the final result.   I'll be playing with this.  Different pillows?  Different slip cover fabric?  I'm even considering something other than the art.  I have other places for the architectural reference prints.
I'd love to hear your feedback.


What have you done for art on your mantel?   Please share.

Kathy


Thursday, July 14, 2011

So Haute

For those of you new to my blog, I frequently write about what's haute  to shop for when shopping vintage.  Some of my haute finds are just for me, others were purchased with clients in mind, and some are just for sale.


Check them out.


I've been loving horse heads.  I found the clear glass one.   I bought the book for its zebra cover.
The series of women's faces are copies of Piero Fornasetti pieces made into paper weights.
If you missed my post on Fornasetti, go here.


 I always buy orbs when I see them.  These mottled brown orbs are exceptionally nice.  Again books bought for their chevron and snakeskin covers.  The striped pillow is made from a feed sack.  The wall sconces are new and electrified.  I could see them painted hot pink or turquoise.


The planter is mid century modern.  What a fabulous imprinted border.  This would work well for holding magazines as well as plants.  The framed botanicals are original hand-colored book plates.


Another horse head.  You may have already seen the horse head in a previous post.  I used it as a book end with some covered books.  If you missed that post, go here.
I was excited to find the tortoise shells.  I'm trying to figure out how to hang them on a wall.
Any ideas ?
The four small squares are vintage geometric-patterned coasters.  The snakeskin print scarf is vintage as is the snakeskin blotter.  I think I may use the blotter in my kitchen, almost as a tray.  I think it will look good with my snakeskin fabric back splash.  To  see the back splash, go here.


My last find is the orb finial--I have a pair of them.
I've seen books tied with twine, but I really like the use of an old leather belt too.  You could also use a silver or sequined belt for some bling.
The old lab bottle had its label, but not its stopper.  I added some feathers to fill the space.

I hope I've given you some ideas for your next vintage shopping trip.

Please share your haute finds.


Kathy


Sunday, July 10, 2011

Chinoiserie Foot Boards

If you've been following my blog you know I love to reinvent objects.  I purchased a pair of twin bed foot boards from a dealer friend. No head board, no rails in sight.   I loved the chinoiserie painting on them.  Also, if you know me, you know I buy items I love without having a plan for them.  My husband has finally learned not to ask what I'm going to do with something.

When I  got them home I realized they were the same olive color as my mid-century modern buffet which I use for my tv stand. 

Work in Progress


I knew I would come up with some use for them in this room. Woo hoo!
Perfect for window valances.  

Love the Chinoisserie Detail


A Peek Under the Draperies

Full View  of Draperies and Bed

What do you think?  Like it or too out there.
I can't imagine how wonderful the head board must have been. 

Kathy


Tuesday, July 5, 2011

It's Time Again for the Second Saturday Sale at the Pink Poet

Just wanted to remind everyone in the DC area that this Saturday, the 9th, is the next fabulous sale at the Pink Poet in Laytonsville.  I have a conflict and can't be there, but I'll be there for the August13 sale with tons of new stuff.  Looking forward to hearing about your purchases.

NOT TO BE MISSED!


DON'T MISS IT.  FABULOUS FINDS

Kathy

Looking for a Cloche Alternative?

Recently, I posted about ways to display your treasures under glass.


Surprise!
Do you believe I have an alternate suggestion? 

Instead of a cloche try a large jar with a lid.

Home Goods Animal Print Jar

I simply filled the jar with faux lemons and limes and placed it on a pedestal.

Dining Room Vignette

Apothecary jars work too.  Fill them with treasures.

Vintage Apothecary Jars With Books and Framed Bookplate

Old laboratory bottles can also be used as containers.
 A Lab Jar with Sea Life

I combined the bottle and jars and updated my sun room mantel.


Sea Life Mantel Scape


Remember the lantern on the screened porch?
Why would I ever put a candle in a lantern?

Lantern Display

  I used a coral fan as a backdrop and antique books as risers for my iron bird.

A Peek Inside the Lantern

What have you used to display your treasures?
Please share.
Kathy


Friday, July 1, 2011

I've Been Featured on [aka]|design!


My covered books tutorial,  Gilding the Lily,  has been featured on [aka]|design!  Check it out.
Thanks Shannon.


  I found Shannon when she shared this fabulous graphic wall and the tutorial on her blog. 
She and her husband Dean come up with some very creative design ideas.


 Isn't it fabulous?

Any way, you must go there and check out her other creations too.


Thanks again Shannon for featuring my project.
Kathy